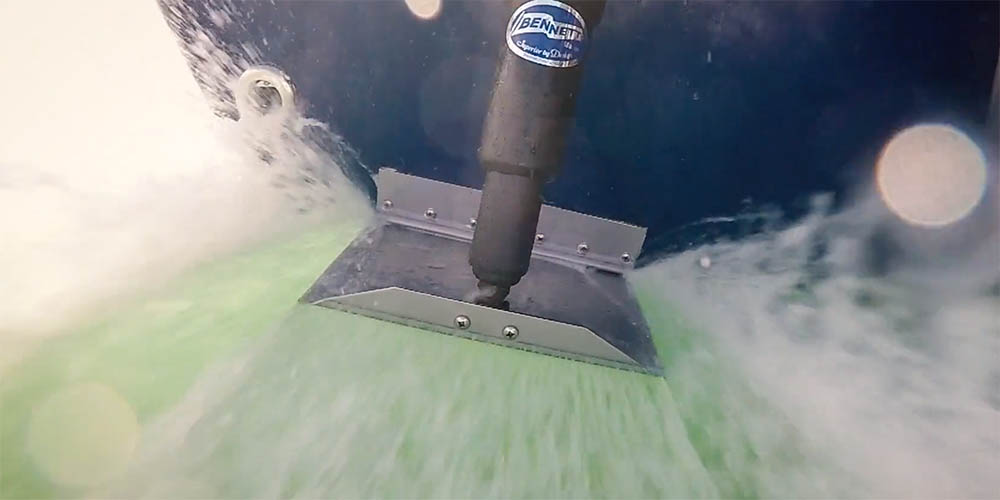
Selecting and Installing Trim Tabs
Explore the features and benefits of manual, electric, and hydraulic trim tabs, along with step-by-step installation guidance.

Trim tabs are essential for optimizing a powerboat’s trim—its fore, aft, and side-to-side attitude in the water. They enhance performance in varying sea conditions while improving ride comfort and handling. With trim tabs, you can adjust the bow’s attitude, similar to power trim, and use electric or hydraulic tabs to manage side-to-side balance, even at low speeds. Whether your boat is small or large, trim tabs enhance efficiency and comfort.
Key Benefits of Trim Tabs
1. Enhanced Performance
Most boats are designed to plane at specific speeds and weight distributions. When weight shifts or speed decreases, the stern settles, reducing fuel efficiency. Trim tabs counter this by maintaining the optimal running attitude, ensuring smoother and more efficient operation.
2. Increased Fuel Efficiency
A lowered stern creates a “hill” of water that the boat must push through, requiring extra energy and fuel. Trim tabs adjust independently of power trim to optimize fuel usage, minimizing drag and improving propeller efficiency.
3. Improved Safety
When the bow is raised too high, forward visibility is compromised. Adjusting the trim tabs ensures a safer running attitude by preserving clear sightlines.
Choosing the Right Trim Tabs
Automatic, Electric, or Hydraulic Tabs?
- Automatic Trim Tabs
- Operate with nitrogen gas cylinders and function like shock absorbers.
- Require no through-transom wires or plumbing, making installation simple.
- Ideal for smaller boats, sport boats, or budget-conscious boaters.
- Drawback: They cannot be adjusted underway.
- Electric Trim Tabs
- Controlled by electric actuators, allowing precise adjustments with immediate response.
- Easy to install as they don’t require hydraulic hoses or pumps.
- Hydraulic Trim Tabs
- Use hydraulic cylinders powered by a pump inside the boat.
- Offer robust and reliable performance, especially for larger vessels or heavy-duty applications.
Measuring for Trim Tabs
When ordering trim tabs, measure the largest possible plane span between the transom's outer edge and the centerline, leaving:
- 3–4 inches of clearance from the outer edge.
- 8–12 inches of clearance from the centerline (for outboard or sterndrive clearance).
Rule of Thumb: At least 1 inch of width for every foot of the boat’s length.
Installation Overview
Installing Smart Tabs
With basic tools (electric drill, screwdrivers, and wrenches), most boat owners can install Smart Tabs in under an hour.
- Steps:
- Assemble trim plates with hinges, brackets, and zinc anodes (for saltwater use).
- Mount trim plates on the transom using the included screws.
- Attach gas actuators and brackets using templates for proper alignment.
- Adjust the tabs to a 25° angle for optimal lift.
Installing Lenco or Bennett Trim Tabs
Installation for electric (Lenco) or hydraulic (Bennett) tabs takes about 4–5 hours for a DIYer.
- Steps:
- Position the tabs on the transom and drill necessary holes for wiring or hydraulic hoses.
- Attach hinges and mounts, ensuring proper alignment with a straightedge.
- Install the control switch on the helm, drilling a 2–2.5 inch hole.
- Connect the wiring harness (Lenco) or hydraulic tubing (Bennett) to the control unit.
For Bennett Tabs Only:
Install the Hydraulic Power Unit (HPU) in a dry location, connect tubing, and fill the reservoir with automatic transmission fluid. No bleeding of the system is needed.
By selecting the appropriate trim tabs and following these installation steps, you can significantly enhance your boat’s performance, safety, and efficiency.
EXPLORE POPULAR ARTICLES
-
How to Choose the Right Propeller
Jan 1st 2025Selecting the right propeller is one of the easiest and most impactful steps to enhance your boat’s
-
Selecting and Installing Trim Tabs
Jan 1st 2025Explore the features and benefits of manual, electric, and hydraulic trim tabs, along with step-by-s
-
Navigation Light Requirements
Dec 30th 2024This article provides an overview of navigation light requirements and serves as a guide for selecti
